 Sabayon Linux is a Gentoo-based, multi-purpose distribution. Like previous versions of Sabayon Linux, the latest upgrade version, Sabayon Linux 4, installs – by default, more stuff than you’ll ever need. This tutorial provides step-by-step instructions on how to install a much leaner Sabayon Linux 4 desktop using the K Desktop Environment, the default desktop environment..
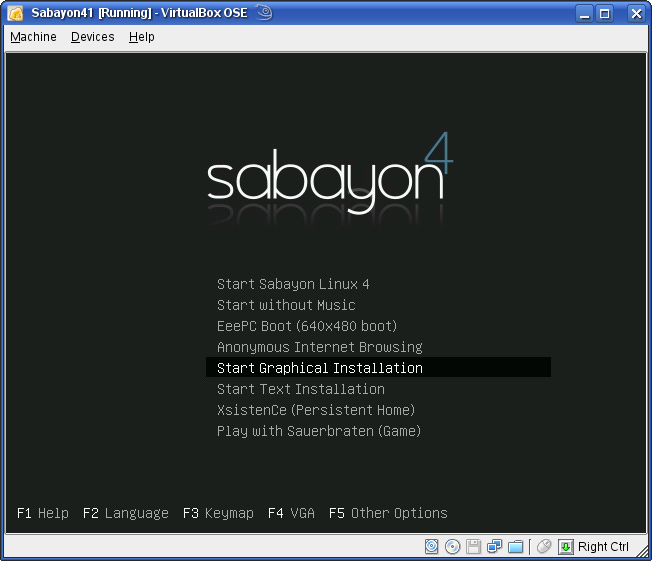
The Sabayon Linux installer offers several install options:
- Start Sabayon Linux 4 – this is the default option, and hitting Enter on your keyboard after booting from the install DVD gives you the opportunity to take the distro for a spin without installing it on your PC. In other words, this is a LiveDVD option. Choose this if you a new to Sabayon, and just want to find out if it is the right distro for you. Choosing this option also plays a music for you, a rock tune.
- Start Sabayon without Music – this is the same option as the default except that the music is not played. Select this if rock music makes your ears ache.
- EeePC Boot (640×480) – select this option if you want to install Sabayon on a netbook such as the ASUS EeePC or a similar netbook
- Anonymous Internet Browsing – want to cloak your activities on the Internet while using the LiveDVD environment? Then this is the option for you.
- Start Graphical Installation – this option allows you to skip the LiveDVD mode and start installing Sabayon on your PC using the gui installer.
- Start Text Installation – this is the same as the option above except that installation occurs without the aid of the fancy gui installer. This option is for you if you are a Linux geek, or just want to take a walk on the geek side.
There are two other options, but these are the most important ones. If your a new to this, and do not want to waste time with the LiveDVD environment, select the Start Graphical Installation option as shown below. Use your PC’s Down arrow to navigate. Hit Enter to go on to the next screen.
The Sabaon Linux 4 installer has been given a face lift, but it is still as resource-intensive as previous versions. Click the Forward button to continue.
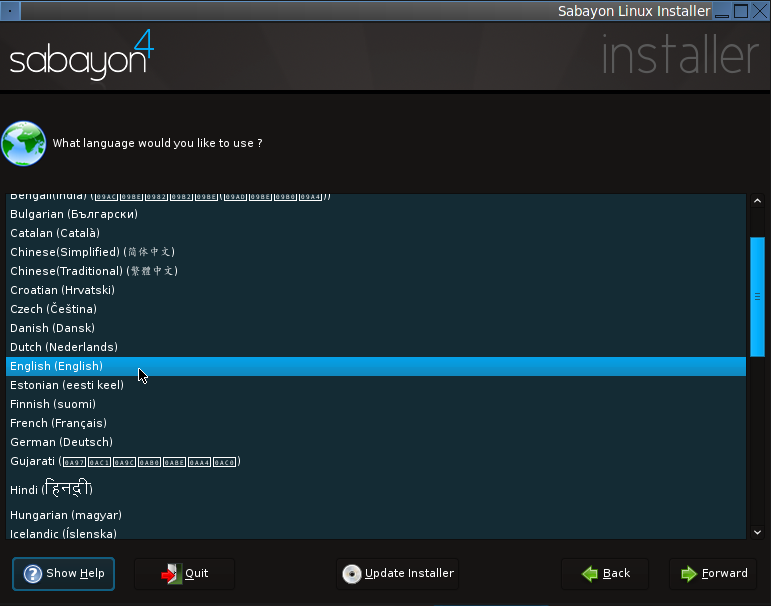
Make your language selection here.
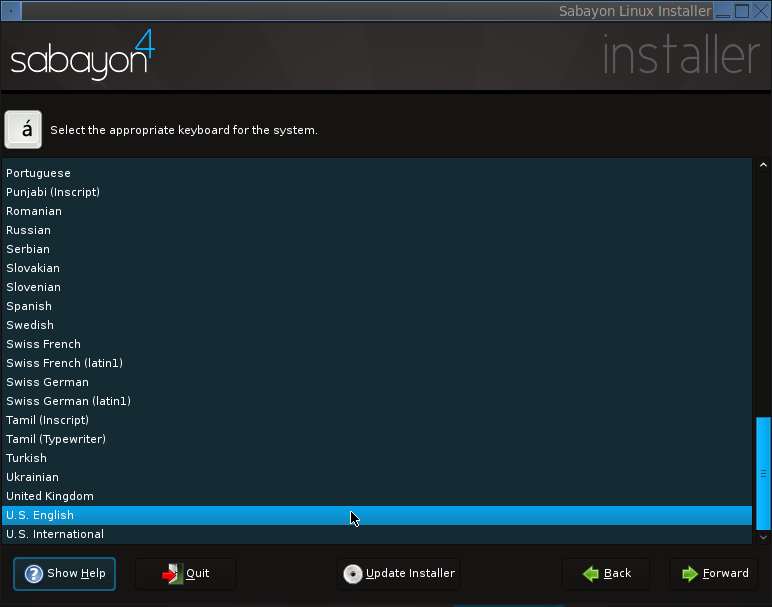
And your keyboard type here.
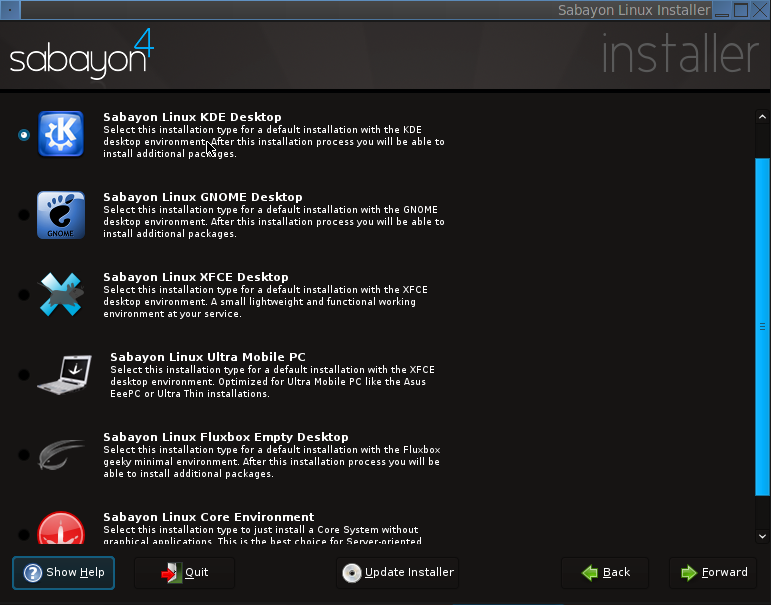
With Sabayon Linux 4 (applies also to other versions), several desktop environments are made available for installation. The default is the K Desktop Environment (KDE). Gnome, XFCE, and Fluxbox are also provided. For installing on a netbook, a netbook-optimized version of XFCE is also available. You may also choose to build a Sabayon Linux server by choosing Sabayon Linux Core Environment. If you are new to Linux and/or Sabayon, we recommend that you stick with the default, that is, Sabayon Linux KDE Desktop. Forward.
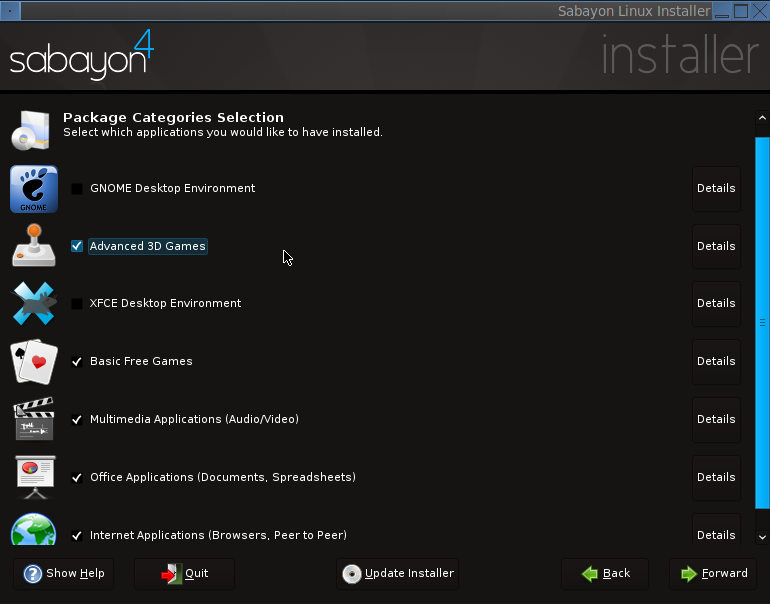
Even if you choose KDE, the default desktop environment, Sabayon will still choose to install the full set of applications from the Gnome and XFCE desktop environments. Because each desktop environment comes with it’s own set of software applications, installing all three desktop environments leaves you with a very bloated installation. This is bad. If you are installing one desktop environment, it is not necessary to install the other two.
The recommended way, therefore, is to make sure that the Gnome Desktop Environment and the XFCE Desktop Environment package categories are unchecked. One more thing: By default, Sabayon does not install advanced 3D games, but if your PC has a 3D capable graphics video card, we suggest that you install the software in the Advanced 3D Games package category.
If you are not a fan of KDE, then go back to the previous screen and select one of the other two desktop environments. The point is that it is not necessary to install more than one desktop environment. If you have followed all of our recommendations, your Package Categories Selection window should look just like the one below. Forward.
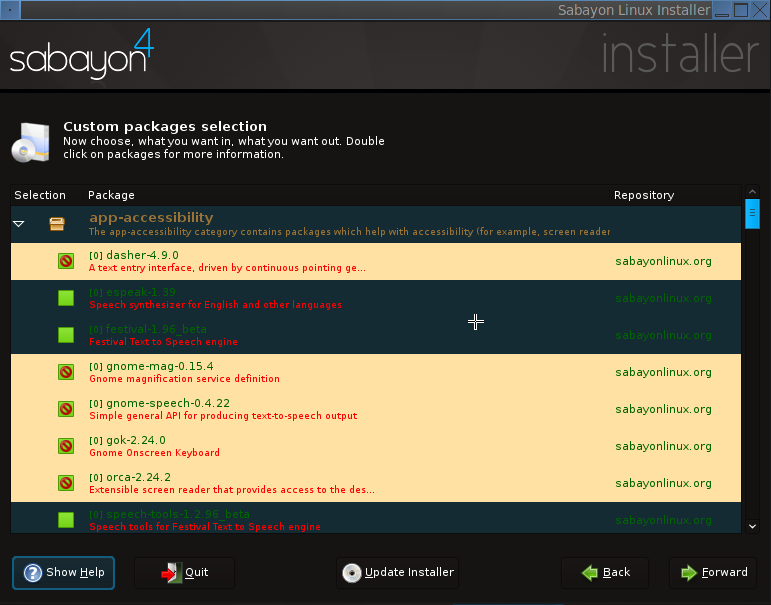
Aside from giving you the option to select/de-select package categories, the Sabayon installer also gives you the option to further customize what’s installed by selecting/de-selecting individual applications. If you are new to this and you have followed all our recommendations from the previous screenshot, you should not have to do anything here. Forward.
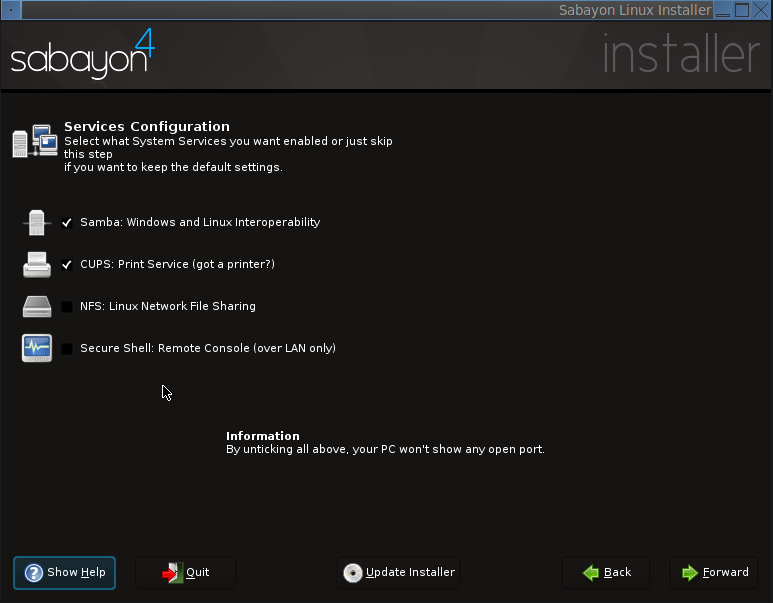
The defaults at this step should be fine. You can always open additional ports after installation. Forward.


