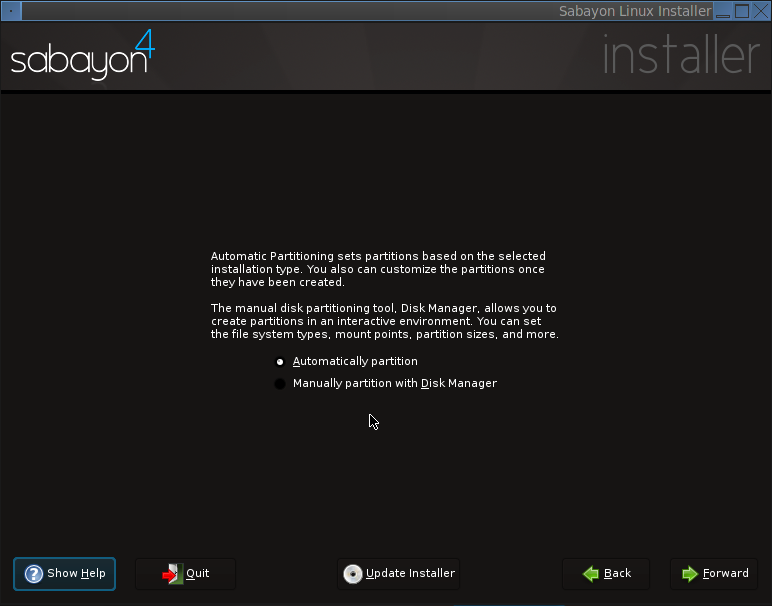
Here the installer offers two modes, Automatic (default) and Manual, for partitioning the hard disk(s) detected on your PC. Sabayon uses Linux Logical Volume Manager (LVM) as the default disk partitioning scheme. What this means to you is greater flexibility in managing disk and disk partitions (volumes, in LVM parlance). If you stick with the default, the installer will, aside from a non-LVM boot partition, create only two logical volumes, one for swap and the other for /, the root directory.
This is nice, but not the best way to partition a disk under Linux. Want to partition a disk under Sabayon like a pro? We recommend that you read how to configure LVM on Sabayon Linux 4. Partition like a pro does not mean that it is difficult, it is actually easy, and the tutorial gives step-by-step instructions on how to do it.
If, however, you want to use the default (not recommended), Forward.
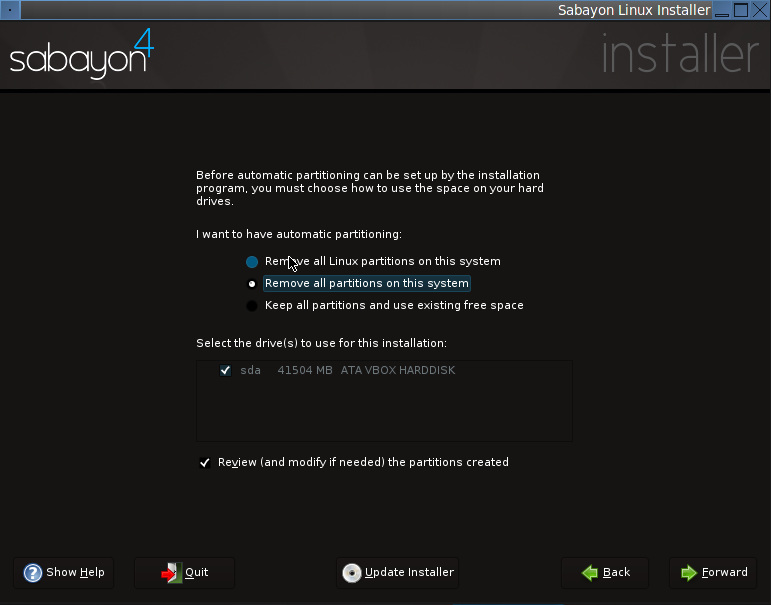
If there are existing partitions from another operating system – Linux, Windows, BSD, on the hard disk, the installer offers three options on how to deal with the existing partitions. Know that you want to completely remove any existing operating system, then select the second option as shown. However, if you want to dual boot, that is, keep the other OS and install Sabayon on the free space, then choose the last option.
If you are a Windows users, are fed up with spyware and virus infections, and all you do is surf the Web, read and send email, chat with Messenger, Yahoo IM, or Skype, and occasionally create a word document or Excel spreadsheet, we recommend the second option. However, make sure that you have copies of documents or personal data you want to keep. Forward.
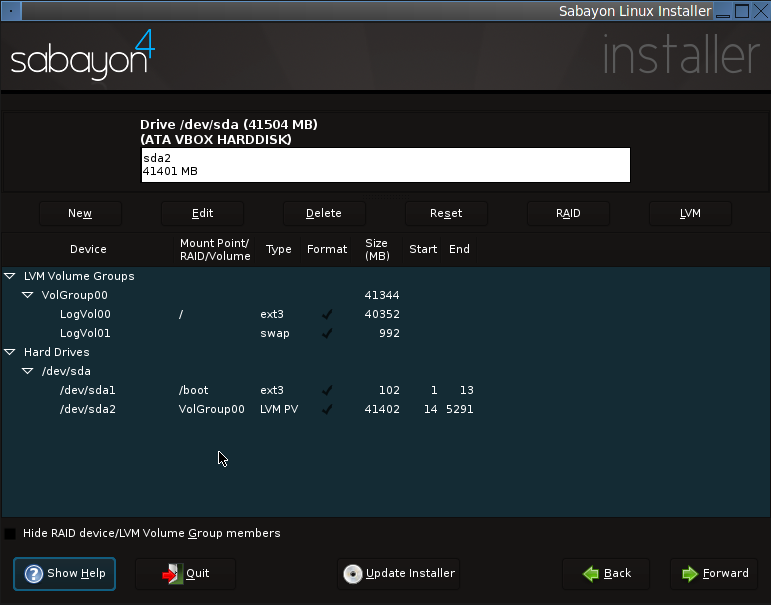
These are the default partitions the installer creates. Notice that there is a non-LVM primary partition for /boot, and two LVM volumes – LogVol00 and LogVol01. This is nice, but like we pointed out earlier, if you want to configure LVM like a pro, like a geek, read how to configure LVM on Sabayon Linux 4. Forward
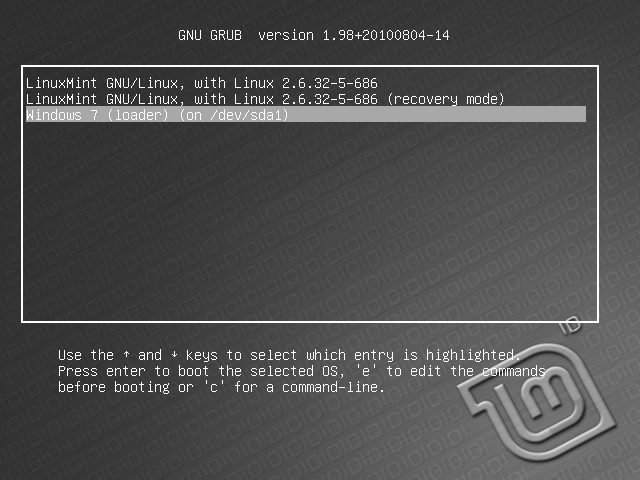
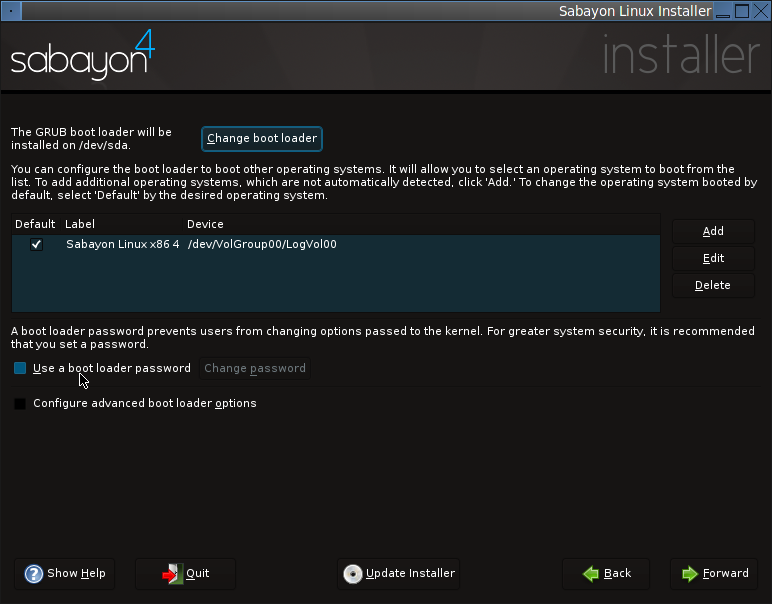
GRUB (GRand Unified Bootloader) is the only boot loader supported by the Sabayon Linux 4 installer, and by default, it is installed on the Master Boot Record (MBR) of the (first) hard disk. Unless you know what you are doing, stick with the defaults on this screen. Forward.
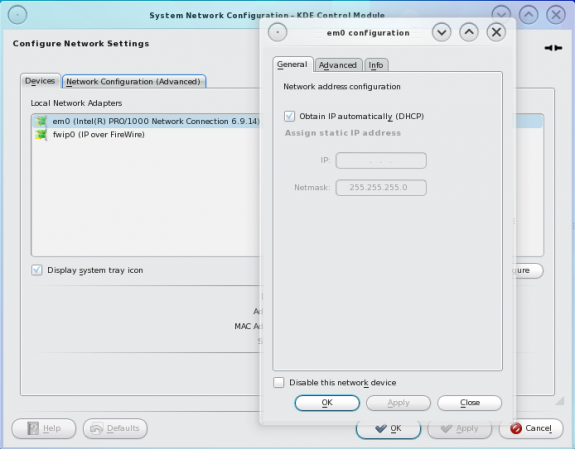
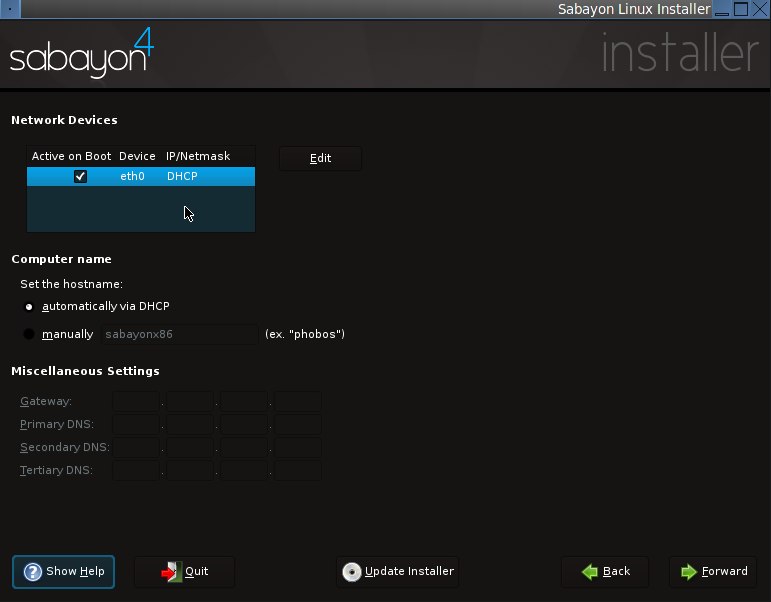
Here the installer presents the methods of configuring the Network Interface Card(s) detected on the PC. The default and the recommended is to use DHCP (Dynamic Host Configuration Protocol). Forward.
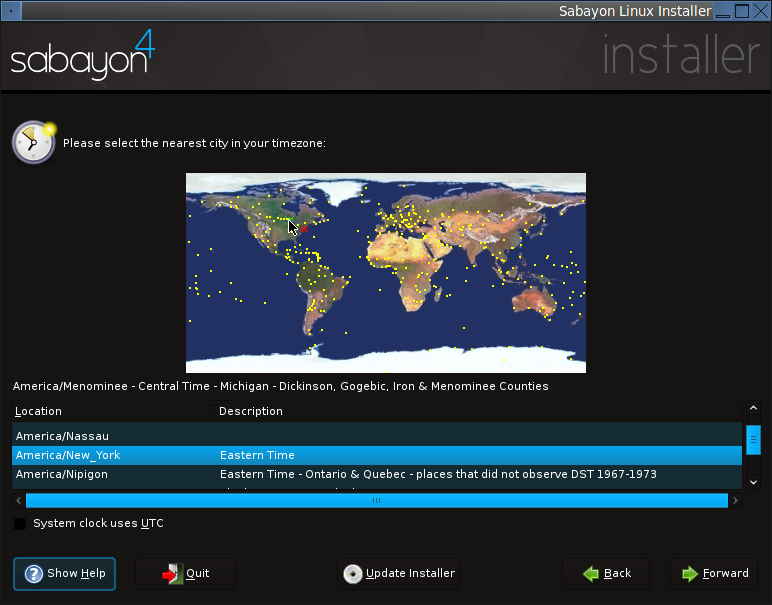
Select your timezone here. Forward.
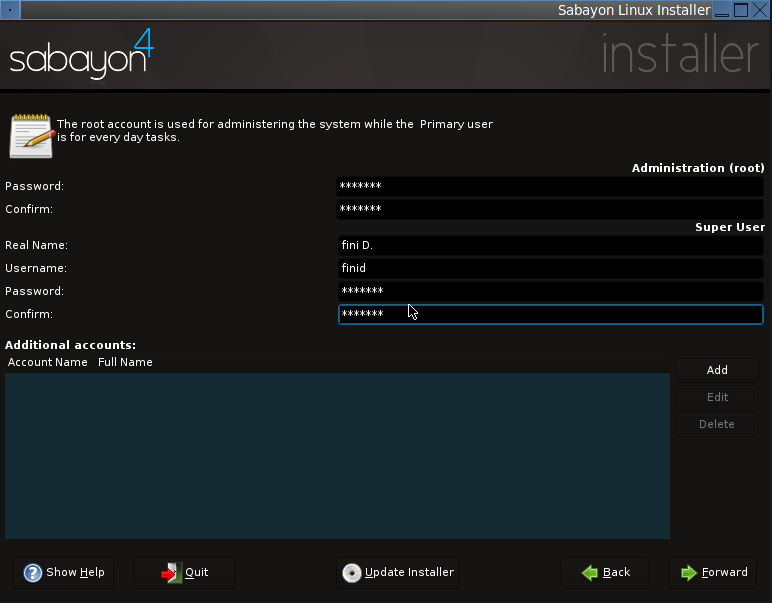
Here you have to set the root password. In UNIX-like operating systems like Linux, the administrator is called root or the superuser. Set the root password and then create a primary account for logging into the system. The root password will be needed when you need to perform system-wide administrative tasks. For security reasons, do not use the same password for root and the primary user. Forward.
Now, you have given the installer all the info it needs. Time to rock. Click Forward to begin the installation.
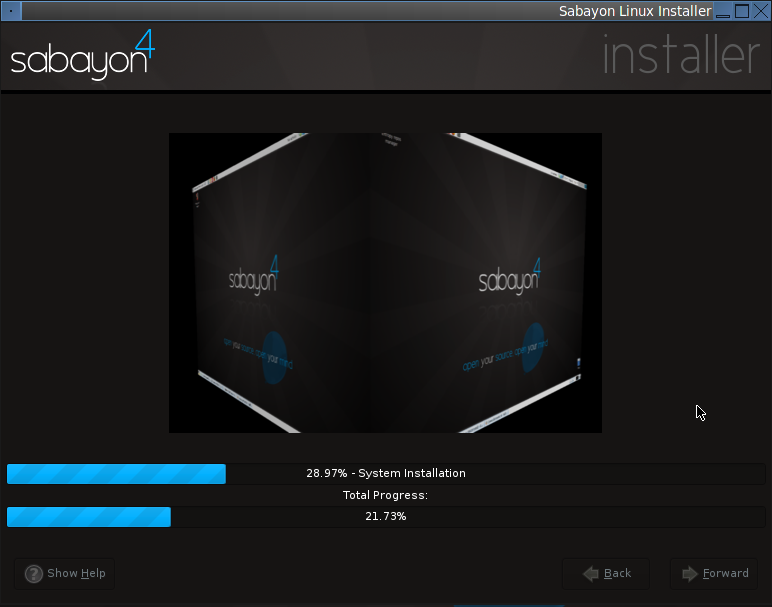
If you followed the recommended settings of this tutorial, the installation should not take too long, certainly not more than 30 minutes. You may just sit and watch the screen, or go do something while the installer does its job.

