 Pardus is a Linux, desktop-oriented distro that was just reviewed here. This post is to help you configure some very important aspects of the operating system that should have been enabled out of the box. Expert knowledge is not required to make these configuration changes, just the ability to point and click.
The three tasks we want to accomplish in the tutorial are:
- Enable the graphical firewall client
- Enable the computer to use the Network Time Protocol
- Finally, enable the openSSH server (only if you need to).
[tip]This tutorial is also good for Pardus 2009.1[/tip]
So, let’s get started!
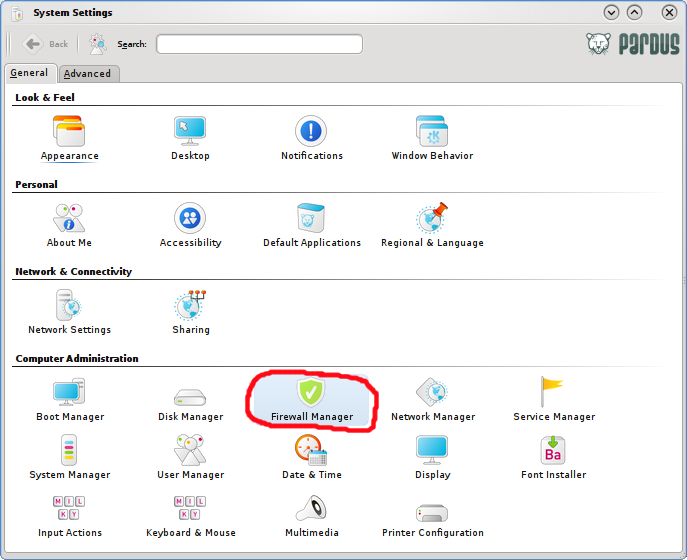
Firewall Pardus (2009) comes with a graphical firewall client that simplifies the setup of IPTables, the enterprise-grade firewall application built into the Linux kernel. The problem with the firewall client is that it is not enabled by default. But don’t panic. Enabling it is quite easy, point-and-click easy. You will find the Firewall Manager in the control center. Click (or double click) the Firewall Manager icon to launch it.
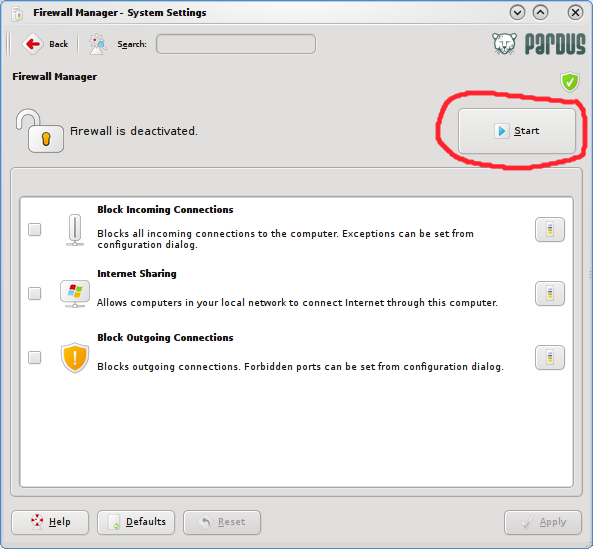
Firewall Manager (default setting – disabled)
To enable it, just click on the Start button in the upper section of the Firewall Manager’s interface. Unless you want to do something fancy with your setup, that’s all there is to enabling the firewall client on Pardus 2009.
If you want to do something extra, the Firewall Manager gives you three options to play with. You may choose to:
- Block Incoming Connections, and optionally allow certain connections through
- Internet Sharing – use this if there are other computers using this Pardus installation as a gateway to the Internet. Otherwise, don’t touch this
- Block Outgoing Connections – configure this if you want to stop certain applications from connecting to the Internet
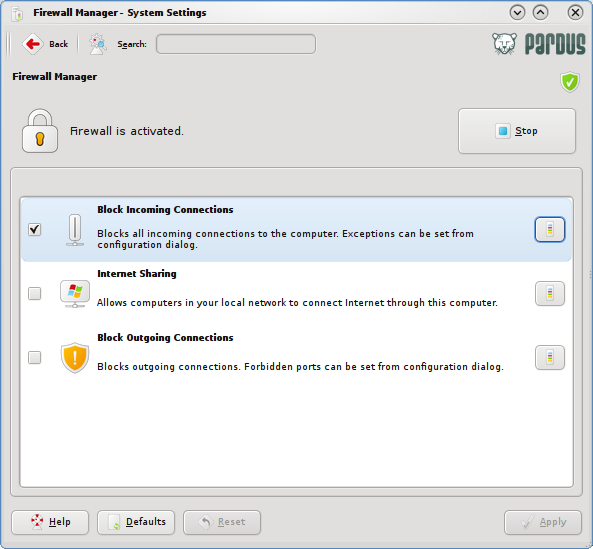
Most users will not need to make any other changes other than enabling the Firewall Manager.
Network Time Protocol On virtually all the Linux and BSD distros I have reviewed, NTP or Network Time Protocol is disabled by default. In Case you are not familiar with it, NTP is the protocol that enables a networked device to sync its clock to national standard time. That is another way of saying that NTP allows your computer to sync its clock to that of a remote NTP server. A remote NTP server could be Primary (Stratum 1) or Secondary (Stratum 2). Stratum 1 servers sync their clock to national time standards via radio, satellite and modem while Stratum 2 servers sync to Stratum 1 server(s).
With NTP enabled, your Pardus (2009) installation will most likely be syncing its clock to that of a Stratum 2 server somewhere on the Internet. But you do not need to know anything about Stratum 1 or Stratum servers. All you want is for your PC to keep time accurately, all the time.
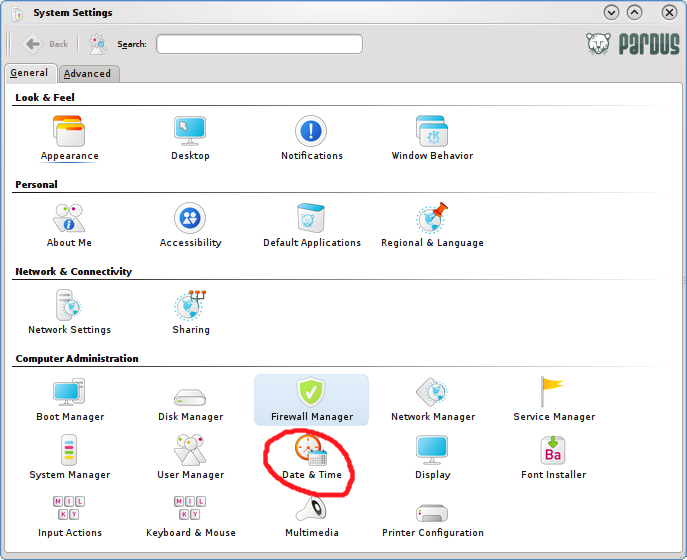
So, to enable NTP on Pardus (2009), open the Control Center, and click on Date/Time
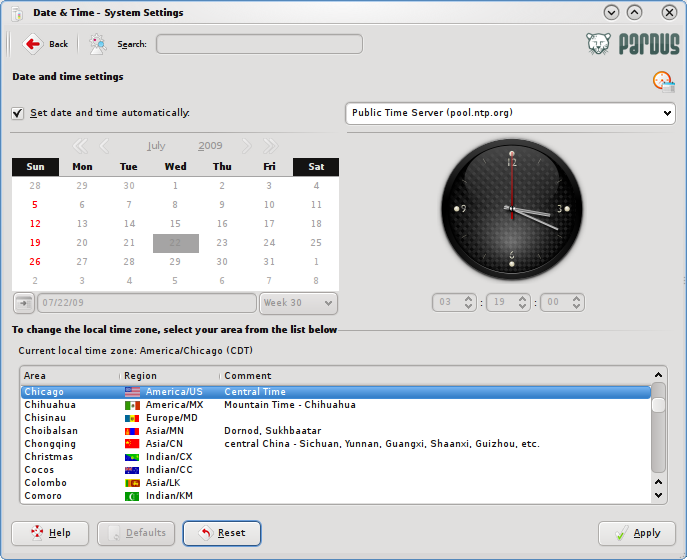
On the next screen that shows up, click the check box next to Set date and time automatically. You may then select the NTP servers you want your system to sync to from the drop down menu. The default is Public Time Server (pool.ntp.org). Finally, and this is very important, make sure you select your correct time zone from the list of Time Zones.
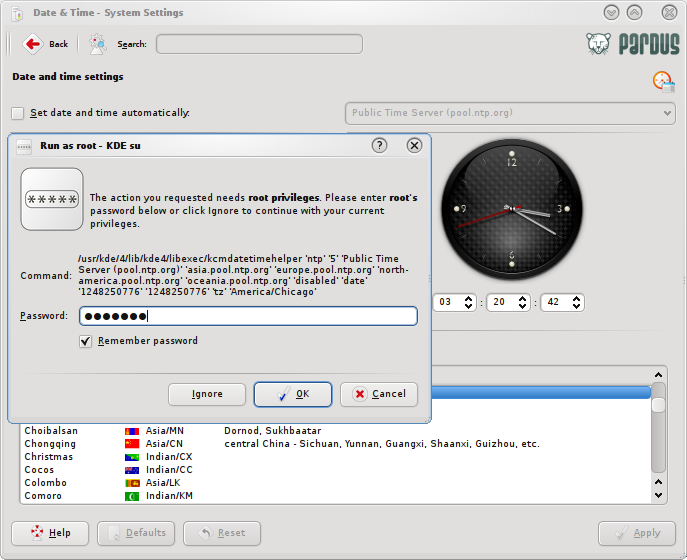
This operation requires root privileges. Enter the root password as requested. That’s it. Now your system’s time will be as accurate as can be – as long as it is connected to the Internet.

