
![]() Fedora 13 alpha has been released, and the faithful are encouraged to download, test and report. The traditional method of testing is to download a full CD iso image (about 700 MB), but if you read the recent post about Network booting with boot.fedoraproject.org, you’d have learned that all you now need to do to install any version of Fedora is to download a very small iso image (626 KB).
Fedora 13 alpha has been released, and the faithful are encouraged to download, test and report. The traditional method of testing is to download a full CD iso image (about 700 MB), but if you read the recent post about Network booting with boot.fedoraproject.org, you’d have learned that all you now need to do to install any version of Fedora is to download a very small iso image (626 KB).
When that article was published, Fedora 13 had not yet been released, so the option to install it was not available in BFO. The screenshot below shows BFO’s installation page before the release of Fedora 13 alpha.
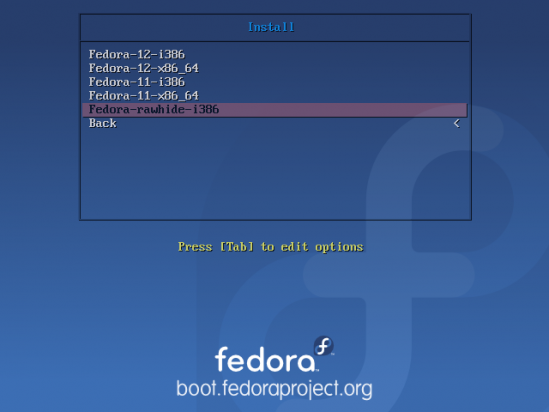
BFO install options
With (Fedora) 13 alpha released, the installation page now has options to install x86 and x86-64 versions. This demonstrates a very clear advantage of using BFO over the full CD iso image.
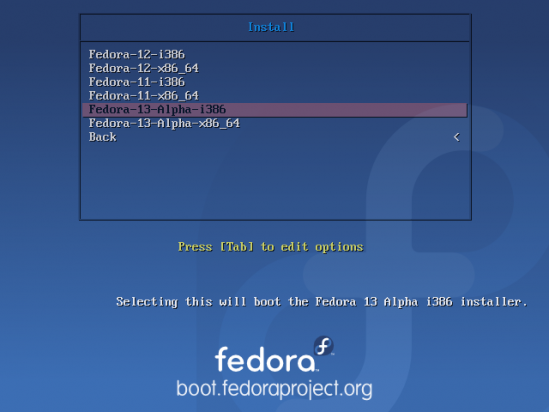
F edora 13 alpha
The default network interface configuration has both IPv4 and IPv6 enabled. From my experience, that caused DHCP and ultimately, the network configuration step to fail. Disabling the IPv6 option solved the problem. So if you experienced something similar at this step, be sure to disable the IPv6 option. You should now be able to proceed with the rest of the installation. BFO is the way to go if you ever need to install Fedora. Read the original Network booting with boot.fedoraproject.org post if BFO is news to you..
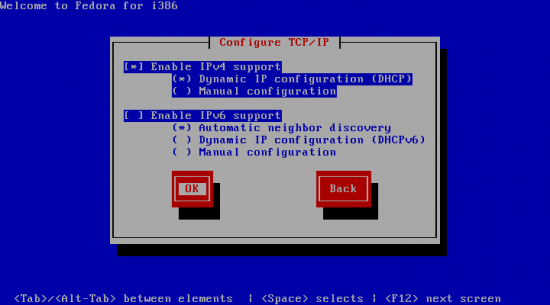
Make sure to disable the IPv6 option.


