 Epidemic is a desktop-oriented, KDE, Debian-based (GNU/Linux) distribution developed in Brazil. Epidemic 3.1, the latest edition, features a number of custom tools and improvements. One of those tools is EInstaller, the graphical installation program. It is supposed to be easy to use, but if you have are not familiar with disk partitioning under Linux, you’ll find that it’s not so easy to use. This tutorial provides an installation guide for Epidemic 3.1, with emphasis on the disk partitioning aspect.
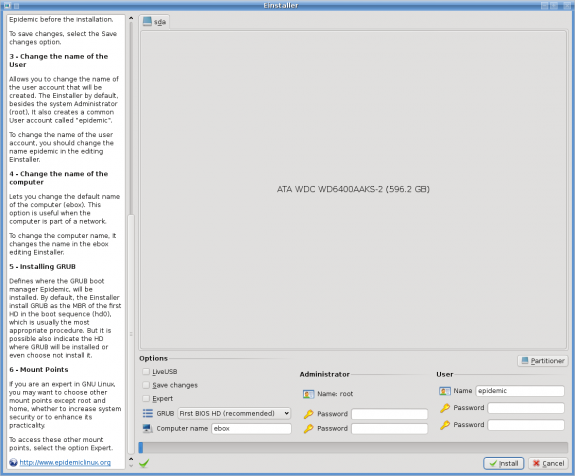
EInstaller makes a very good attempt at simplifying the installation of Epidemic 3.1, but the disk partitioning section, especially if there are no existing Linux partitions, requires a little bit of guidance. The image below shows the installer’s main page on a system with an uninitialized disk. Because EInstaller lacks an automatic disk partitioning feature, you’ll have to manually partition the disk yourself. To do that, click on the ‘Partitioner’ button.
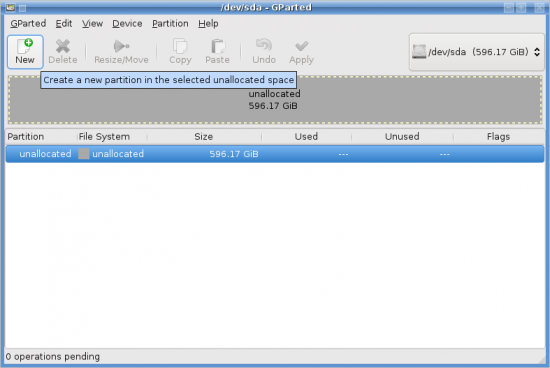
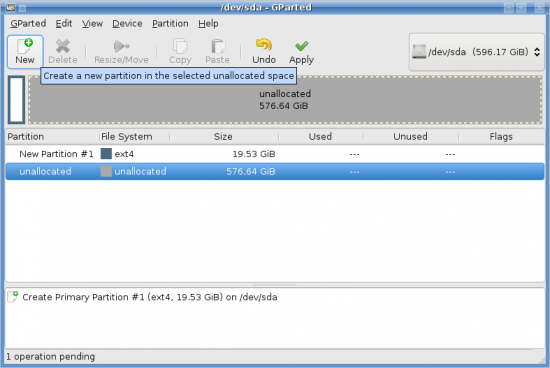
GParted is the graphical tool that EInstaller makes available to assist with manual disk partitioning. Select the disk and click on the ‘New’ button. Note that if the disk has not been initialized, Gparted will present a dialog window asking whether you’d like to initialize the disk. Click ‘Yes’ or ‘Ok.’
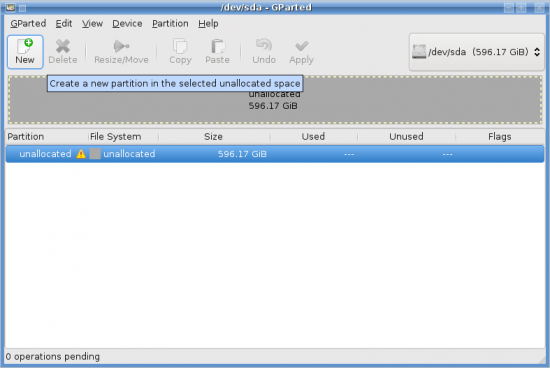
After the disk has been initialized, select it and click on the ‘New’ button to start creating partitions. Epidemic 3.1 has two modes of installation. In the default or simple mode, you only need one partition for /home and another for the main filesystem. In the expert mode, you can create separate partitions for /usr, /var, /tmp, /opt, and /boot. For this tutorial, we are going to stick with the default mode, and create only two partitions.
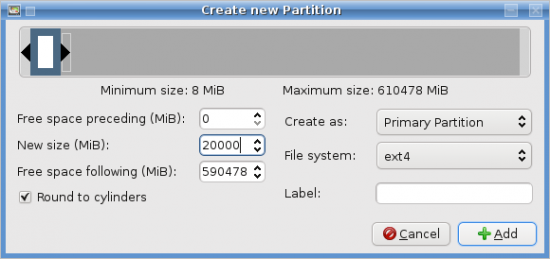
First, we are going to create a partition that will be used for the main filesystem. In simple mode, less than 5 GB of space allocated to the main filesystem is used. Use that as a guide for the disk space to allocate. For this example, I’m allocating 20 GB, and selecting ext4 for the file system. Click ‘Add’ when you’ve made all the selections.
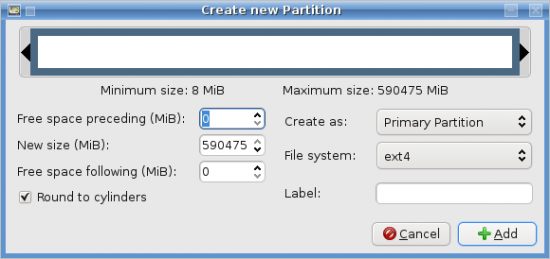
With the first partition created, select the unallocated pace and click ‘New’ to create the second partition.
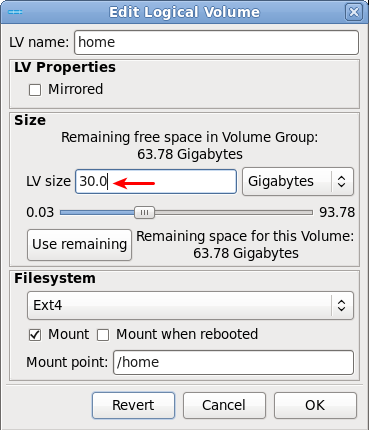
The second partition will be used for /home. I’m allocating the rest of the available space for this partition, and ext4 as the file system. Verify your selections and click ‘Add.’
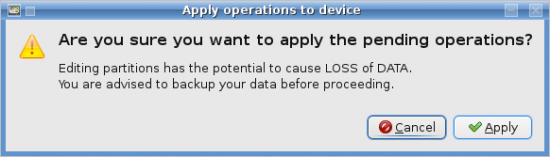
With both partitions created, click the ‘Apply’ button.
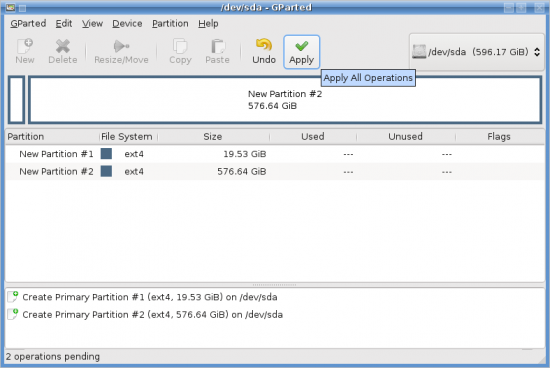
Click ‘Apply.’
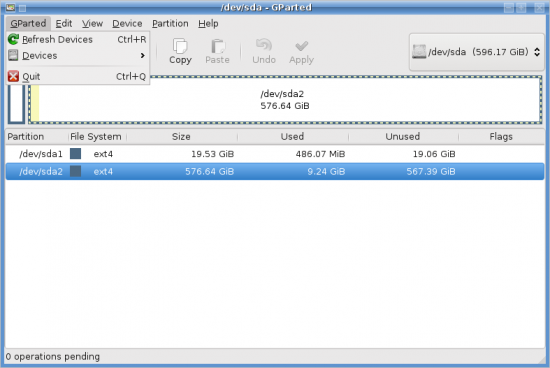
With partitioning completed, click on the GParted menu and select ‘Quit’ to return to the main installer page.
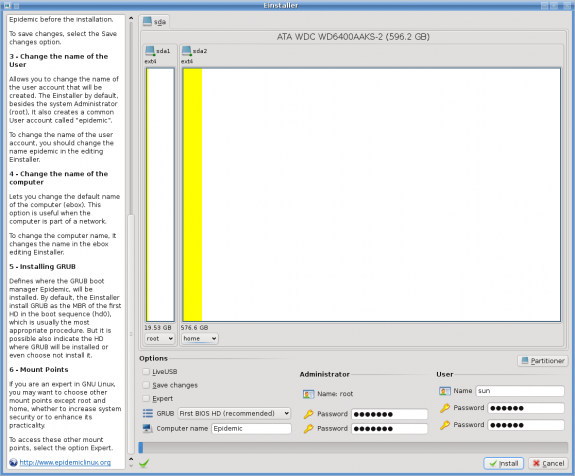
Partitions have been created and we are back to EInstaller. Next step is to assign mount points to the partitions. Below each partition is a dropdown menu of mount points. For the first partition, click on the menu and select ‘root.’ Repeat the step for the second partition, but this time, select ‘home.’ All that’s left to do is to change the default computer name, assign a password for the root account, change the default user name and assign a password for that too. Double-check your settings and click on the ‘Install’ button. In twenty minutes or less, you should have a freshly minted Epidemic GNU/Linux desktop.


