Creating the Volume Group just means specifying a name for it. Enter.
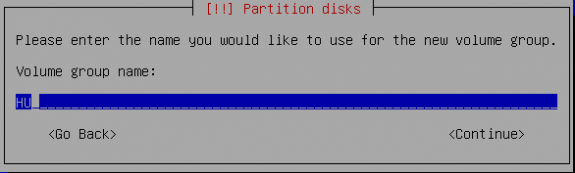
Volume Group's name
It this were a smart installer, it would have detected that we have only one Physical Volume configured. But it did not, so we have to tell it what partition to use. In this example, it is /dev/sda2. Enter.
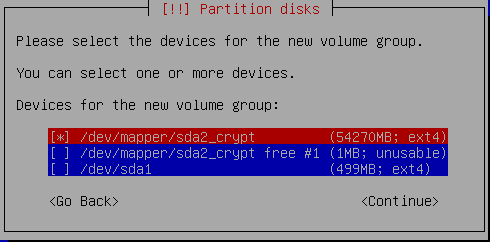
Select the Physical Volume
With the Volume Group Created, select Create logical volume and Enter.
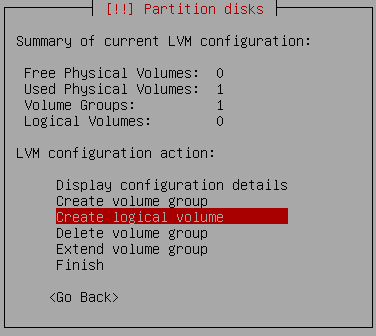
Start creating Logical Volumes
Again, if this were a smart installer, it would have detected that we have only one Volume Group configured, automatically selected it and not have to bother with this step. Since it did not, just Enter on this window to move to the next step.
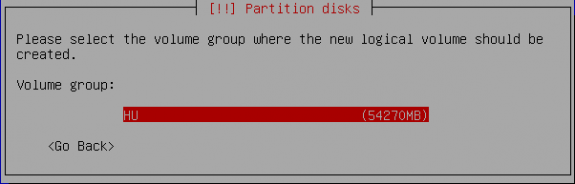
Select the Volume Group
In this tutorial, the first Logical Volume we are going to create is for the root file system. When creating Logical Volumes, I like to give them the name of the file system that they will be assigned to. It makes thinks simpler – for me. So here, the name for the logical volume is root. Enter to move to the next step.
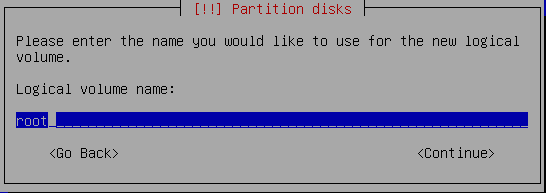
Specify a name for the logical volume
After naming the Logical Volume, here we specify a size for it. On a default installation of Zentyal, were almost everything is installed on one Logical Volume, only about 1.5 GB of disk space is used. This should help you determine how much disk space to allocate to each Logical Volume. Since I intend to create a Logical Volume for each major file system directory, 2 GB should be more than enough for /. Enter.

Specify a size for the logical volume
Repeat the last four steps for all the Logical Volumes you wish to create. Aside from /, which has been created above, the following file systems had their own Logical Volumes in the installation used for this tutorial (the assigned disk sizes are indicated):
- /usr – 4 GB
- /var – 2 GB
- /tmp – 500 MB
- /home – 10 GB
Also a Logical Volume was created for swap, with a 2 GB disk space allocated to it. When all the Logical Volumes have been created, you should have some disk space unallocated. This is how LVM should be configured. The available disk space will be used to grow any Logical Volume that might need it, or to create additional Logical Volumes.
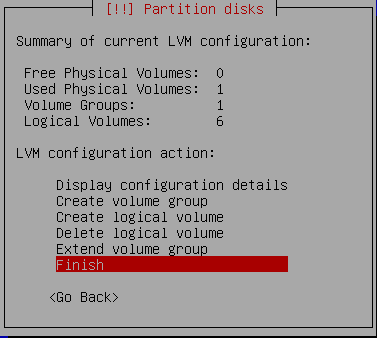
When all the Logical Volumes have been created, select Finish, then Enter.
Setting the file system type and mount point for the LVs
This step shows the details of all the partitions, Physical Volumes, Volume Groups, and Logical Volumes that have been created. It is also where the mount points for the Logical Volumes are specified. To begin, select the line under the first Logical Volume as shown and Enter.

Final list of LVs, PV and VG
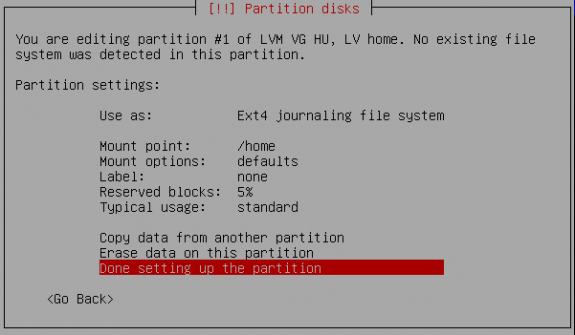
Somehow, we are required to choose the file system type again (Use as), and the Mount point. Then select Done setting up this partition. Enter. Repeat this for all the Logical Volumes.
Set the file system and mount point for the LVs
When all the Logical Volumes have been assigned a mount point and a file system type, you will get a window just like this one below. Select Finish partitioning and write changes to disk. Enter.
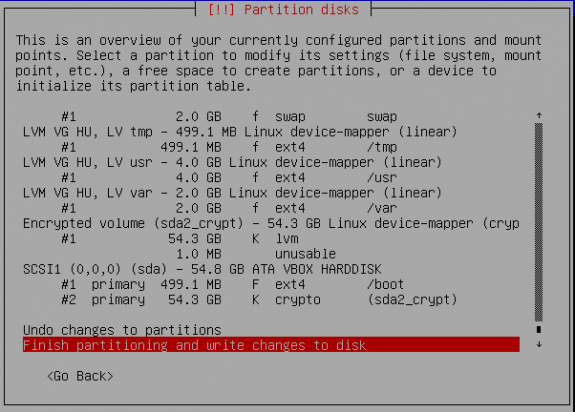
Done creating partitions
Continue with the rest of the installation until it completes successfully, then reboot. During bootup, you will be prompted for the encryption passphrase as shown in the image below. Do you still need to be convinced that Zentyal is based on Ubuntu?
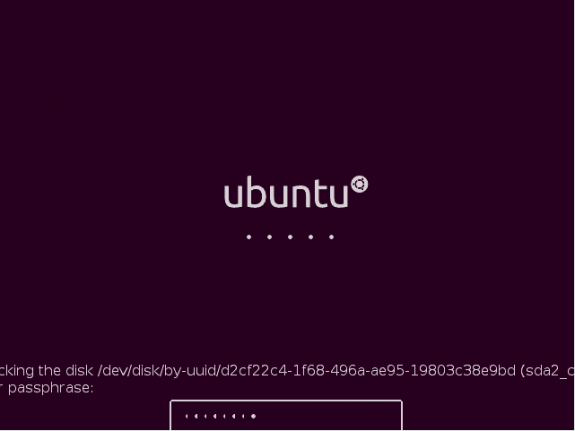
Passphrase being requested on bootup
That is the end. Next article about Zentyal will be a review and then how to install a highly available Zentyal server.


If not possible to avoid crypt pass request… How to unencrypt without installing the whole system again?
Is it possible to automatically assign the encryption pass so it is not requested every time the server is started?
Could you kindly provide a working configuration scenario for port forwarding in zentyal?
i cant use my webserver behind the zentyal server even after configuring port forwarding on eth2 (WAN) to be forwarded to webserver local IP.
Any idea!