When you should upgrade to a dedicated server for better website performance
Your first car takes you places, but as life changes, you have longer commutes, road trips, and a...
Read MoreReasons to use control panel for your server

Your first car takes you places, but as life changes, you have longer commutes, road trips, and a...
Read More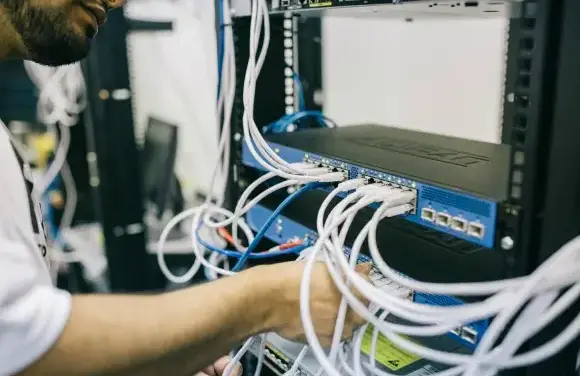
While ordering food online when you’re hungry, you usually choose a restaurant that is...
Read More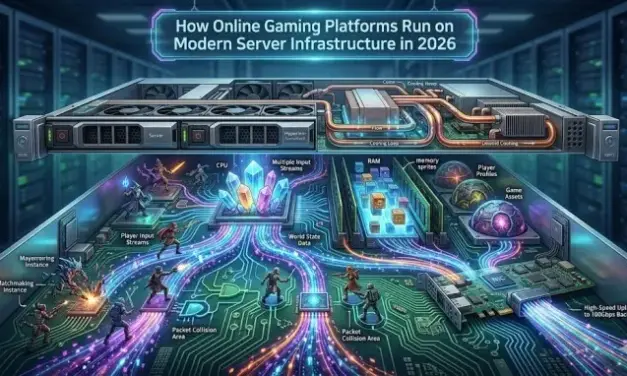
Online gaming is probably the one area that will continually push the limits of server...
Read More
Flatpak is an application packaging and distribution technology that makes it possible to develop...
Read More
Core engineers are now treating Ethereum’s mainnet like the secure, rigid Linux kernel,...
Read More
Linux users tend to be more privacy-aware than average. You update packages, you think twice...
Read More
In the past several years, there has been a curious development on sites like Twitch and YouTube:...
Read More
If you’re running an organization, you must have a website to establish credibility and show that...
Read More
The crypto market is buzzing again as conversations shift toward Ethereum’s potential over the...
Read More
People expect digital platforms to be fast, reliable, and always available. This demand has...
Read More
Linux is one of the most flexible operating systems in the world, but gaming has traditionally...
Read More
In the ever-expanding universe of online activities, ensuring your privacy as a Linux gamer is...
Read More

