Claim 8.1% APY and up to $1,000 of NVDA stock with a moomoo trading account.
Earn $200 (60-day credit) when you sign up for a DigitalOcean account.
- Ubuntu
- Mint
- Fedora
- Debian
- Elementary OS
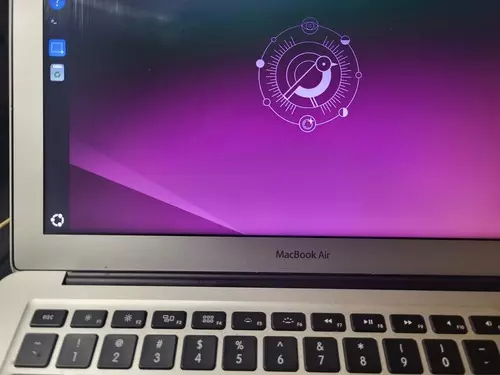
How to install Ubuntu 24.04 or Ubuntu 24.10 on a MacBook Air
This tutorial gives you a step-by-step guide on how to install Ubuntu 24.04 LTS or Ubuntu 24.10...
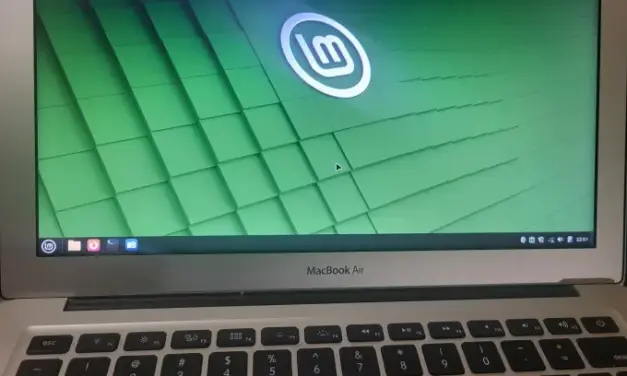
How to install Linux Mint 22.1 on a MacBook Air
This tutorial is a guide on how to install Linux Mint 22.1 (Xia) on a MacBook Air and then...

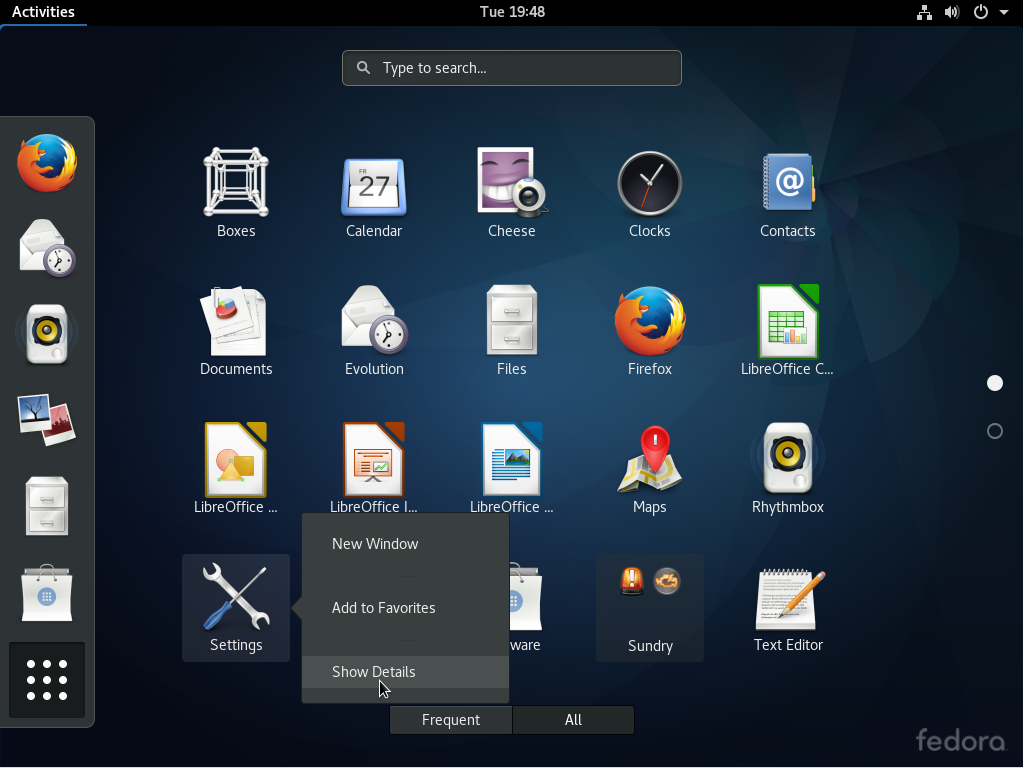
How to enable third party repos in Fedora 42
Those already familiar with Fedora Linux know that out of the box, non-free software are not...

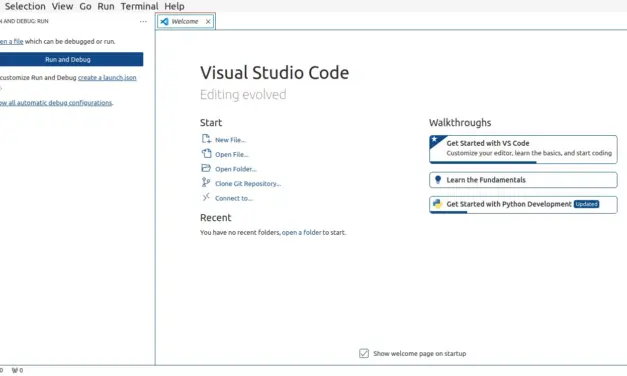
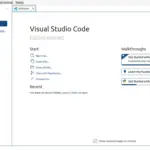
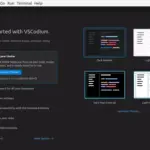
2 methods to uninstall Visual Studio Code IDE from Debian, Linux Mint, or Ubuntu
Visual Studio Code is a free Integrated Development Environment (IDE) from Microsoft. I installed...

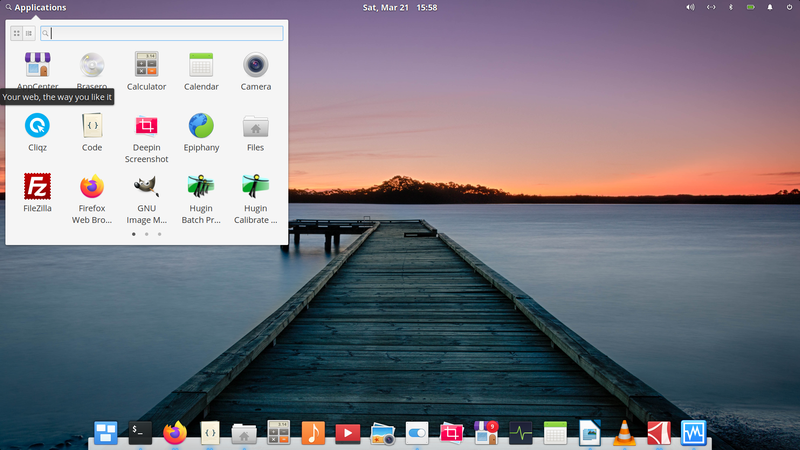
elementary OS
FeaturesDescription Home pagehttps://elementary.io/ Lineage and historyBased on Ubuntu. Visit this...

When you should upgrade to a dedicated server for better website performance
Your first car takes you places, but as life changes, you have longer commutes, road trips, and a...
Read More
Understanding tier IV data centers and why they matter
While ordering food online when you’re hungry, you usually choose a restaurant that is...
Read More
The backbone of play: How online gaming platforms run on modern server infrastructure in 2026
Online gaming is probably the one area that will continually push the limits of server...
Read More
Flatpak security in real life: how to audit permissions and reduce data exposure
Flatpak is an application packaging and distribution technology that makes it possible to develop...
Read More
Ethereum architects harden the kernel for mass adoption
Core engineers are now treating Ethereum’s mainnet like the secure, rigid Linux kernel,...
Read More
Browser isolation for safer casino sessions in Linux
Linux users tend to be more privacy-aware than average. You update packages, you think twice...
Read More
- 1
- ...
- 2
- 3
- 4
- 5
- 6
- 7
- 8
- 9
- 10
- 11
- 12
- 13
- 14
- 15
- 16
- 17
- 18
- 19
- 20
- 21
- 22
- 23
- 24
- 25
- 26
- 27
- 28
- 29
- 30
- 31
- 32
- 33
- 34
- 35
- 36
- 37
- 38
- 39
- 40
- 41
- 42
- 43
- 44
- 45
- 46
- 47
- 48
- 49
- 50
- 51
- 52
- 53
- 54
- 55
- 56
- 57
- 58
- 59
- 60
- 61
- 62
- 63
- 64
- 65
- 66
- 67
- 68
- 69
- 70
- 71
- 72
- 73
- 74
- 75
- 76
- 77
- 78
- 79
- 80
- 81
- 82
- 83
- 84
- 85
- 86
- 87
- 88
- 89
- 90
- 91
- 92
- 93
- 94
- 95
- 96
- 97
- 98
- 99
- 100
- 101
- 102
- 103
- 104
- 105
- 106
- 107
- 108
- 109
- 110
- 111
- 112
- 113
- 114
- 115
- 116
- 117
- 118
- 119
- 120
- 121
- 122
- 123
- 124
- 125
- 126
- 127
- 128
- 129
- 130
- 131
- 132
- 133
- 134
- 135
- 136
- 137
- 138
- 139
- 140
- 141
- 142
- 143
- 144
- 145
- 146
- 147
- 148
- 149
- 150
- 151
- 152
- 153
- 154
- 155
- 156
- 157
- 158
- 159
- 160
- 161
- 162
- 163
- 164
- 165
- 166
- 167
- 168
- 169
- 170
- 171
- 172
- 173
- 174
- 175
- 176
- 177
- 178
- 179
- 180
- 181
- 182
- 183
- 184
- 185
- 186
- 187
- 188
- 189
- 190
- 191
- 192
- 193
- 194
- 195
- 196
- 197
- 198
- 199
- 200
- 201
- 202
- 203
- 204
- 205
- 206
- 207
- 208
- 209
- 210
- 211
- 212
- 213
- 214
- 215
- 216
- 217
- 218
- 219
- 220
- 221
- 222
- 223
- 224
- 225
- 226
- 227
- 228
- 229
- 230
- 231
- 232
- 233
- 234
- 235
- 236
- 237
- 238
- 239
- 240
- 241
- 242
- 243
- 244
- 245
- 246
- 247
- 248
- 249
- 250
- ...
- 251
Earn up to $1000 of NVDA stock

Earn $200 (60-day credit) today

Earn up to $1000 of NVDA stock