Guide to dual-booting
Dual-booting refers to the concept of installing two operating systems on the same computer, and...
Read MoreReasons to use control panel for your server
Dual-booting refers to the concept of installing two operating systems on the same computer, and...
Read More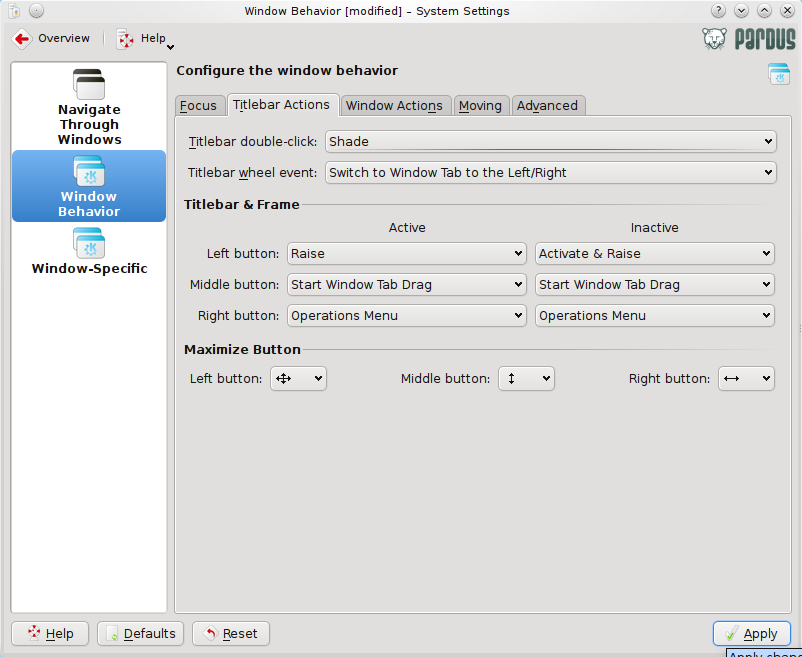
Pardus is a desktop-oriented Linux distribution sponsored and developed by the Scientific &...
Read More
Pardus is a desktop-oriented Linux distribution sponsored and developed by the Scientific &...
Read More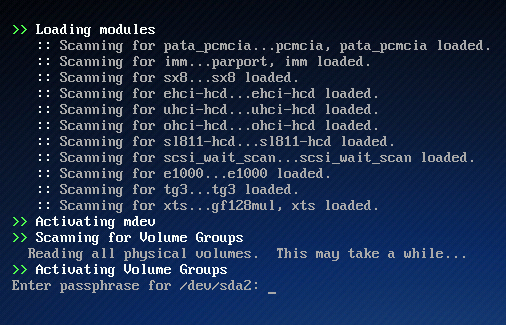
One of the best features introduced in Sabayon 5.3, the latest upgrade to the Gentoo-based,...
Read More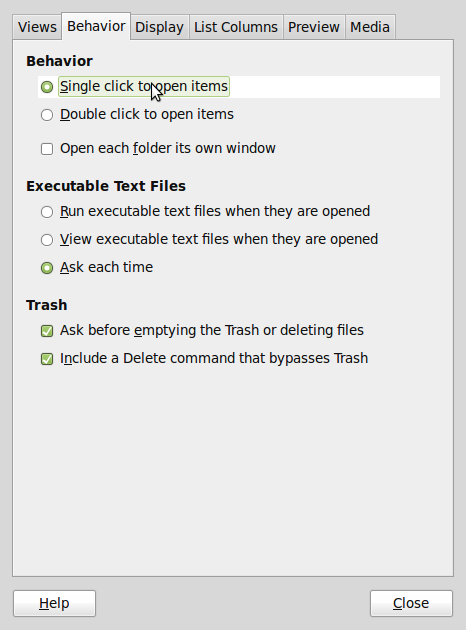
Linux Mint 9 is a Ubuntu-based, desktop distribution that was just reviewed here. Out of the box,...
Read More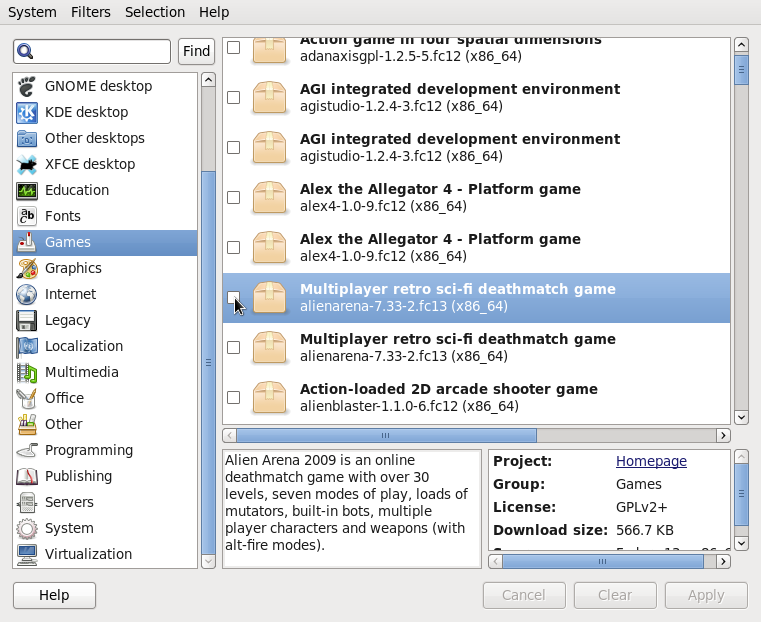
Fedora 13 is the latest update to the Redhat-sponsored, RPM-based Linux distribution. It has long...
Read More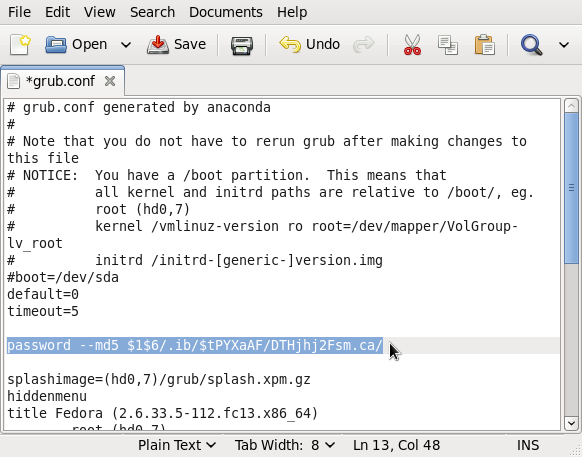
A Paranoid, or 5-star, security rating is the highest physical security rating that you can...
Read More
Fedora 13 is one of the Linux distributions that supports and uses Linux Logical Volume Manager...
Read More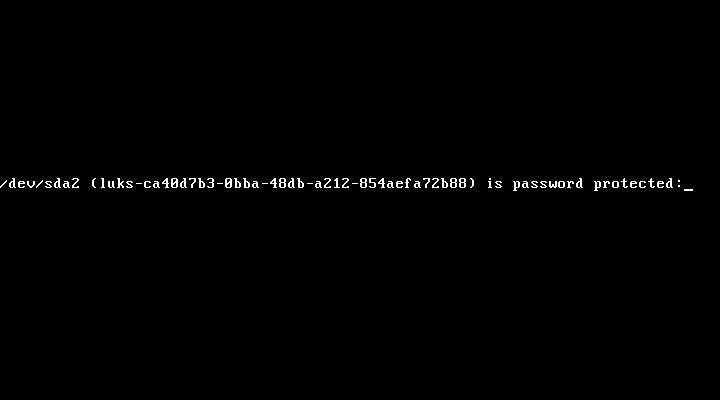
Disk encryption is one very important tool that you can use to enhance the physical security...
Read More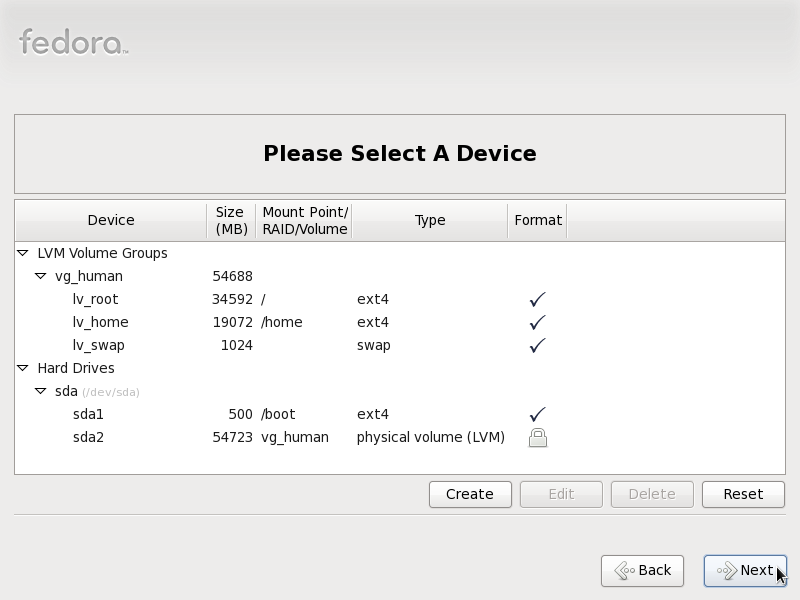
Fedora is one of a handful of Linux distributions that adopts the Linux Logical Volume Manager...
Read More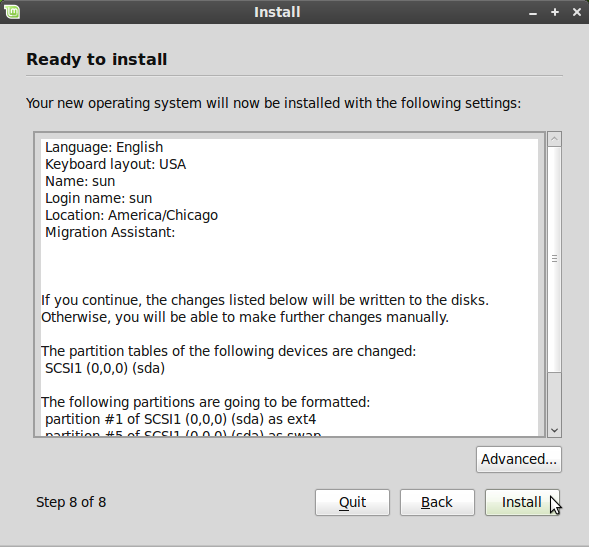
The installation program on Ubuntu 10.04 and Linux Mint 9 are the same. And that’s because...
Read More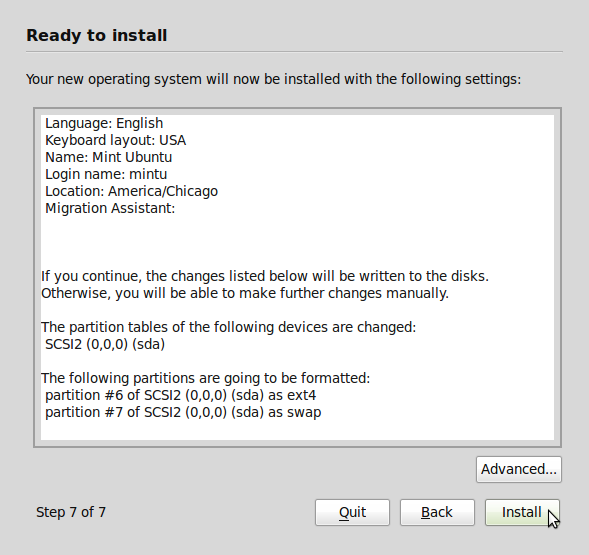
In some situations, you may want to install more than one operating system on a computer. One...
Read More

